
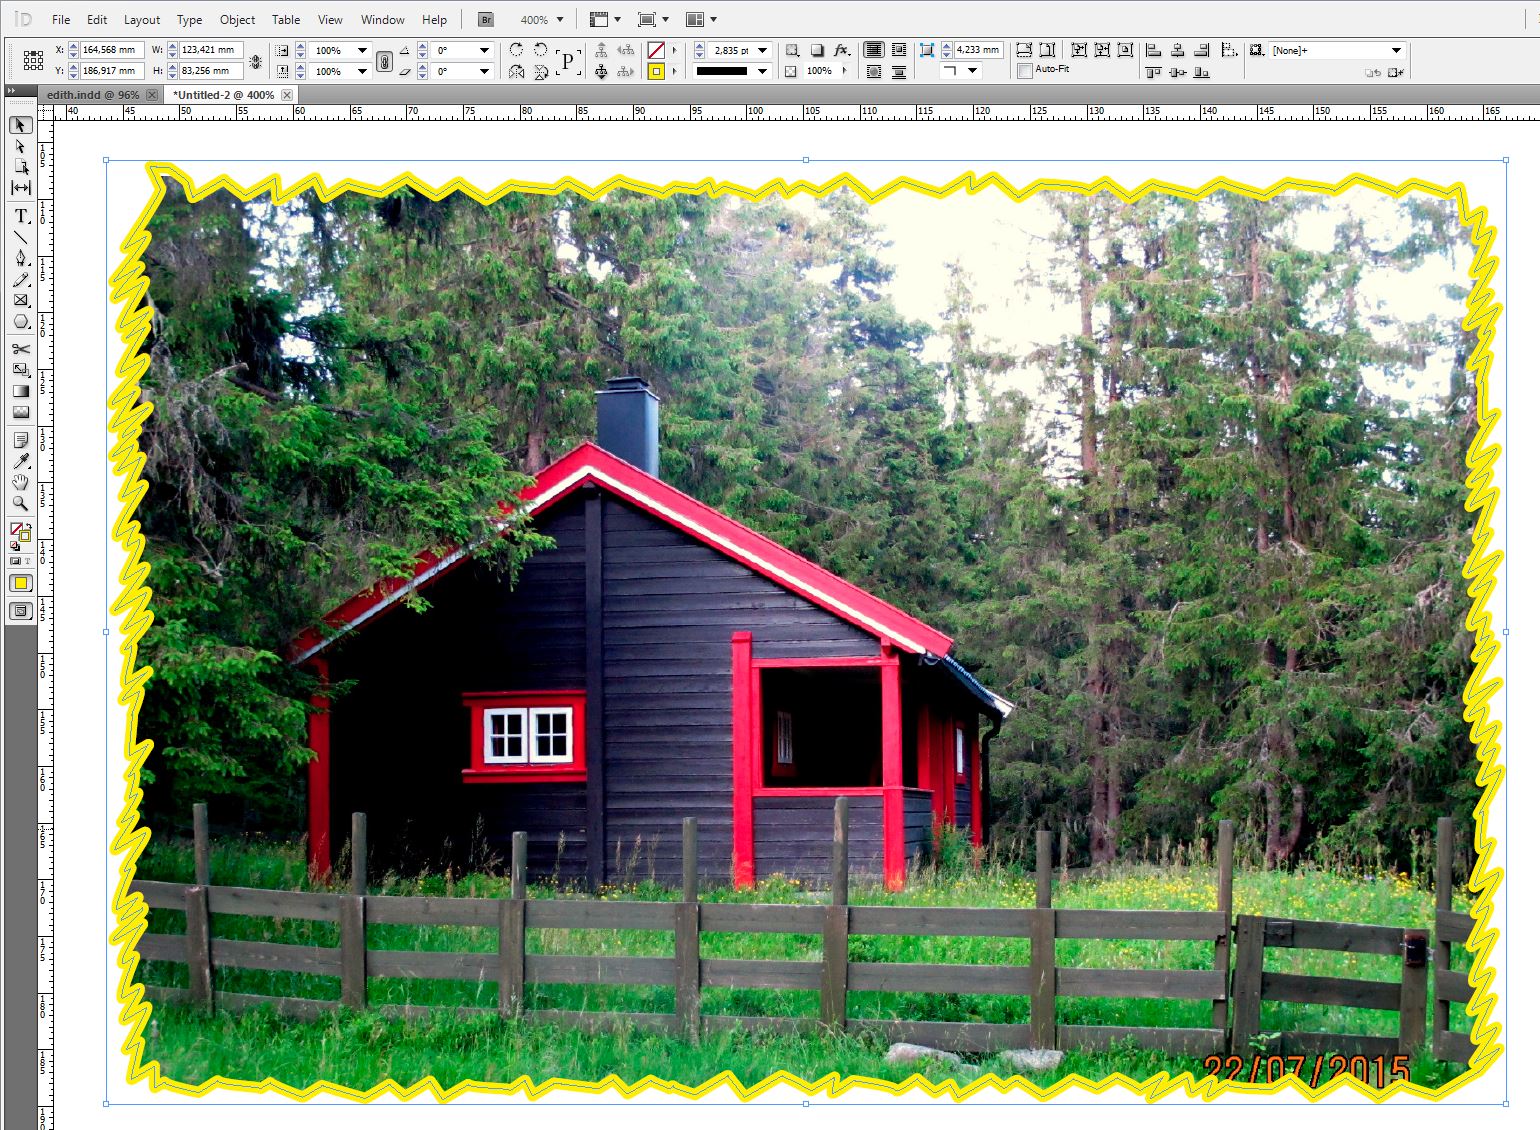
Ever wanted to add rough edges to your photos in InDesign? Or another kind of special frame? I’ll show you how, have a look at this tutorial!
This is what we’ll do:
- Draw the frame in Illustrator
- Copy it into InDesign, do not place it
- Drag the frame into your ID Library
- Place the frame where you want it and place and image within the frame
I wouldn’t been able to make this tutorial if I hadn’t seen the video «Using Illustrator Stuff With InDesign» by Russell Viers and I advise you to do the same, before following my tutorial.
1. Draw the frame in Illustrator
You have to decide what kind of frame you would like. Should it be a normal form, like a rectangle, or would you like another shape, i.e. a star, a heart or a flower?

Draw a shape using the rectangle or similar tools or the pen or pencil. Make sure to close the path. Give the shape a stroke color and a fill color. Fill color can be whatever, but you have to choose something else than [none].
No boring strokes
Be sure to edit the stroke to something interesting by changing the brush or adding some effects.
Brush: Chalk
 Illustrator let you choose between many nice brushes that give your stroke a nice touch. Browse through the Brush libraries that you can open from Window > Brush > menu > Open Brush Library.
I chose chalk on my heart and gave the stroke the final color I would like to have in InDesign.
Effect: Scribble

You may try with different effects, scribble will give a frame that has a wavy edge.
You may need to change the stroke thickness before you get the desired effect.
Go to the Menu and choose Effect > Stylize > Scribble. Make sure the shape has a stroke color, you may change the color later in InDesign.
Make sure you tick Preview so you can see how the different settings affect your shape.
2. Paste into InDesign
Copy the shape in Illustrator, see the video. Remember to go to Preferences > File Handeling & Clipboard, and untick PDF before copying. Open InDesign and paste the shape. Do not place it like you normally would.
Make changes according to how you would like the shape to be. Change colors, change size, change which layer it is in, add some effects like shadow etc. You may place an image into the frame while working to see how your changes will affect the appearance.
If you plan to use the shape several times you should add it to your library. Delete the image (not the frame, use the white arrow, the Direct Selection Tool) before you add the frame to your library.
3. Add the frame to Library
If you have no standard library make one now!
File > New > Library
Save it where you may find it easily and give it a good name.
Now you should select the frame and just drag in into the library. You may also open the Library menu and choose Add Item.
4. Use the frame

Now you are ready to use the frame as many times you like. For each use: Drag the frame from the library or right-click and choose Place Item.
Select frame. Use keyboard shortcut ctrl+d to place an image inside the frame.